Showing posts with label 6mm. Show all posts

Monday, August 28, 2023

Finnish War 1808: Battle of Ruona 1.9.1808, Battlefield visit and refight

Next up on our series of Finnish War 1808 games is the Battle of Ruona. The summer attack of the Swedish army has lost its steam and now the Russians are advancing again. At Ruona, the Swedish army of 6400 faced a Russian force of approximately 9000 troops. I'm sure you can find better accounts of the battle elsewhere, but in a nutshell: The Swedish army had a good defensive position overlooking a bridge between Kuortane and Ruona. They had also built some defensive works along the line north of that position. The Russians attempted to outflank the Swedish army from the north but were repulsed. Parts of the Swedish army counterattacked and some fierce fighting took place at the Heroja farm. Night fell and both armies retreated from the field. The Russians pursued the Swedish army and fought another battle close by in Salmi the next day. After this battle the war started to seem lost for the kingdom of Sweden and the army began to lose heart.


For this game we went to the location of the battle itself. I visited there a year ago to explore the place myself and decided lure some friends to play a game there this year. The field at Ruona is remarkably well preserved and most of the surroundings are pretty much the way they were 200 years ago. For our game we rented a local closed down school building which also housed a museum room dedicated to the battle. There we could set up our table, have some barbeque and beer and warm up the sauna for post-game discussions of military wisdom.

First we went to tour the battlefield with maps in hand. I'll include some of the pictures here for you, as well as some drone photos I took last year. I had problems with my cell phone so I couldn't fly my drone this year but the aerial photos are fresh enough.

The Ruona bridge and Swedish gun positions


Takala farm and surrounding fields


The position of the Savolax Brigade on the northern flank


Heroja farm and the Russian side of the field


Walking the battlefield we made many observations on how the terrain had influenced the decisions made on the day. The Swedish army, for example, must have been stretched very, very thin because the line was about 3 kilometers long and was held with only 6000 men. The visibility over the fields was good and it was unlikely that any great manoeuvers could go unnoticed. The area around Ruona bridge was very marshy and crossing the 600 meter wooden bridge under artillery fire and musketry would have been suicide for either army.

The game

After the battlefield tour and a break, we played the game itself. I'll let the picture commentary do the talking, but the big picture was that the Russians attempted to break through the northern flank of the Swedish army with a much larger force than they did historically. For a moment it looked like they would indeed break the Savonians guarding the road to Salmi, but the attack faltered to musket and grapeshot. In General de Brigade (the rules we use) units suffering losses get pinned down pretty easily and have a hard time getting moving again, and this worked against the attackers. The Russians managed to turn the Savonian line on the northernmost end, but the day came to a close and the road to Salmi remained in Savonian hands, so we judged the Russians having failed. Whilst the main battle was underway in the north, the men of the Åbo regiment attempted to move on Heroja farm to cut off the attackers from the main army, but having ample reserves, the Russians could easily reinforce that section and the Åbo men called off the attack, turning north instead. The Russians withdrew to their side of the field and the battle ended.


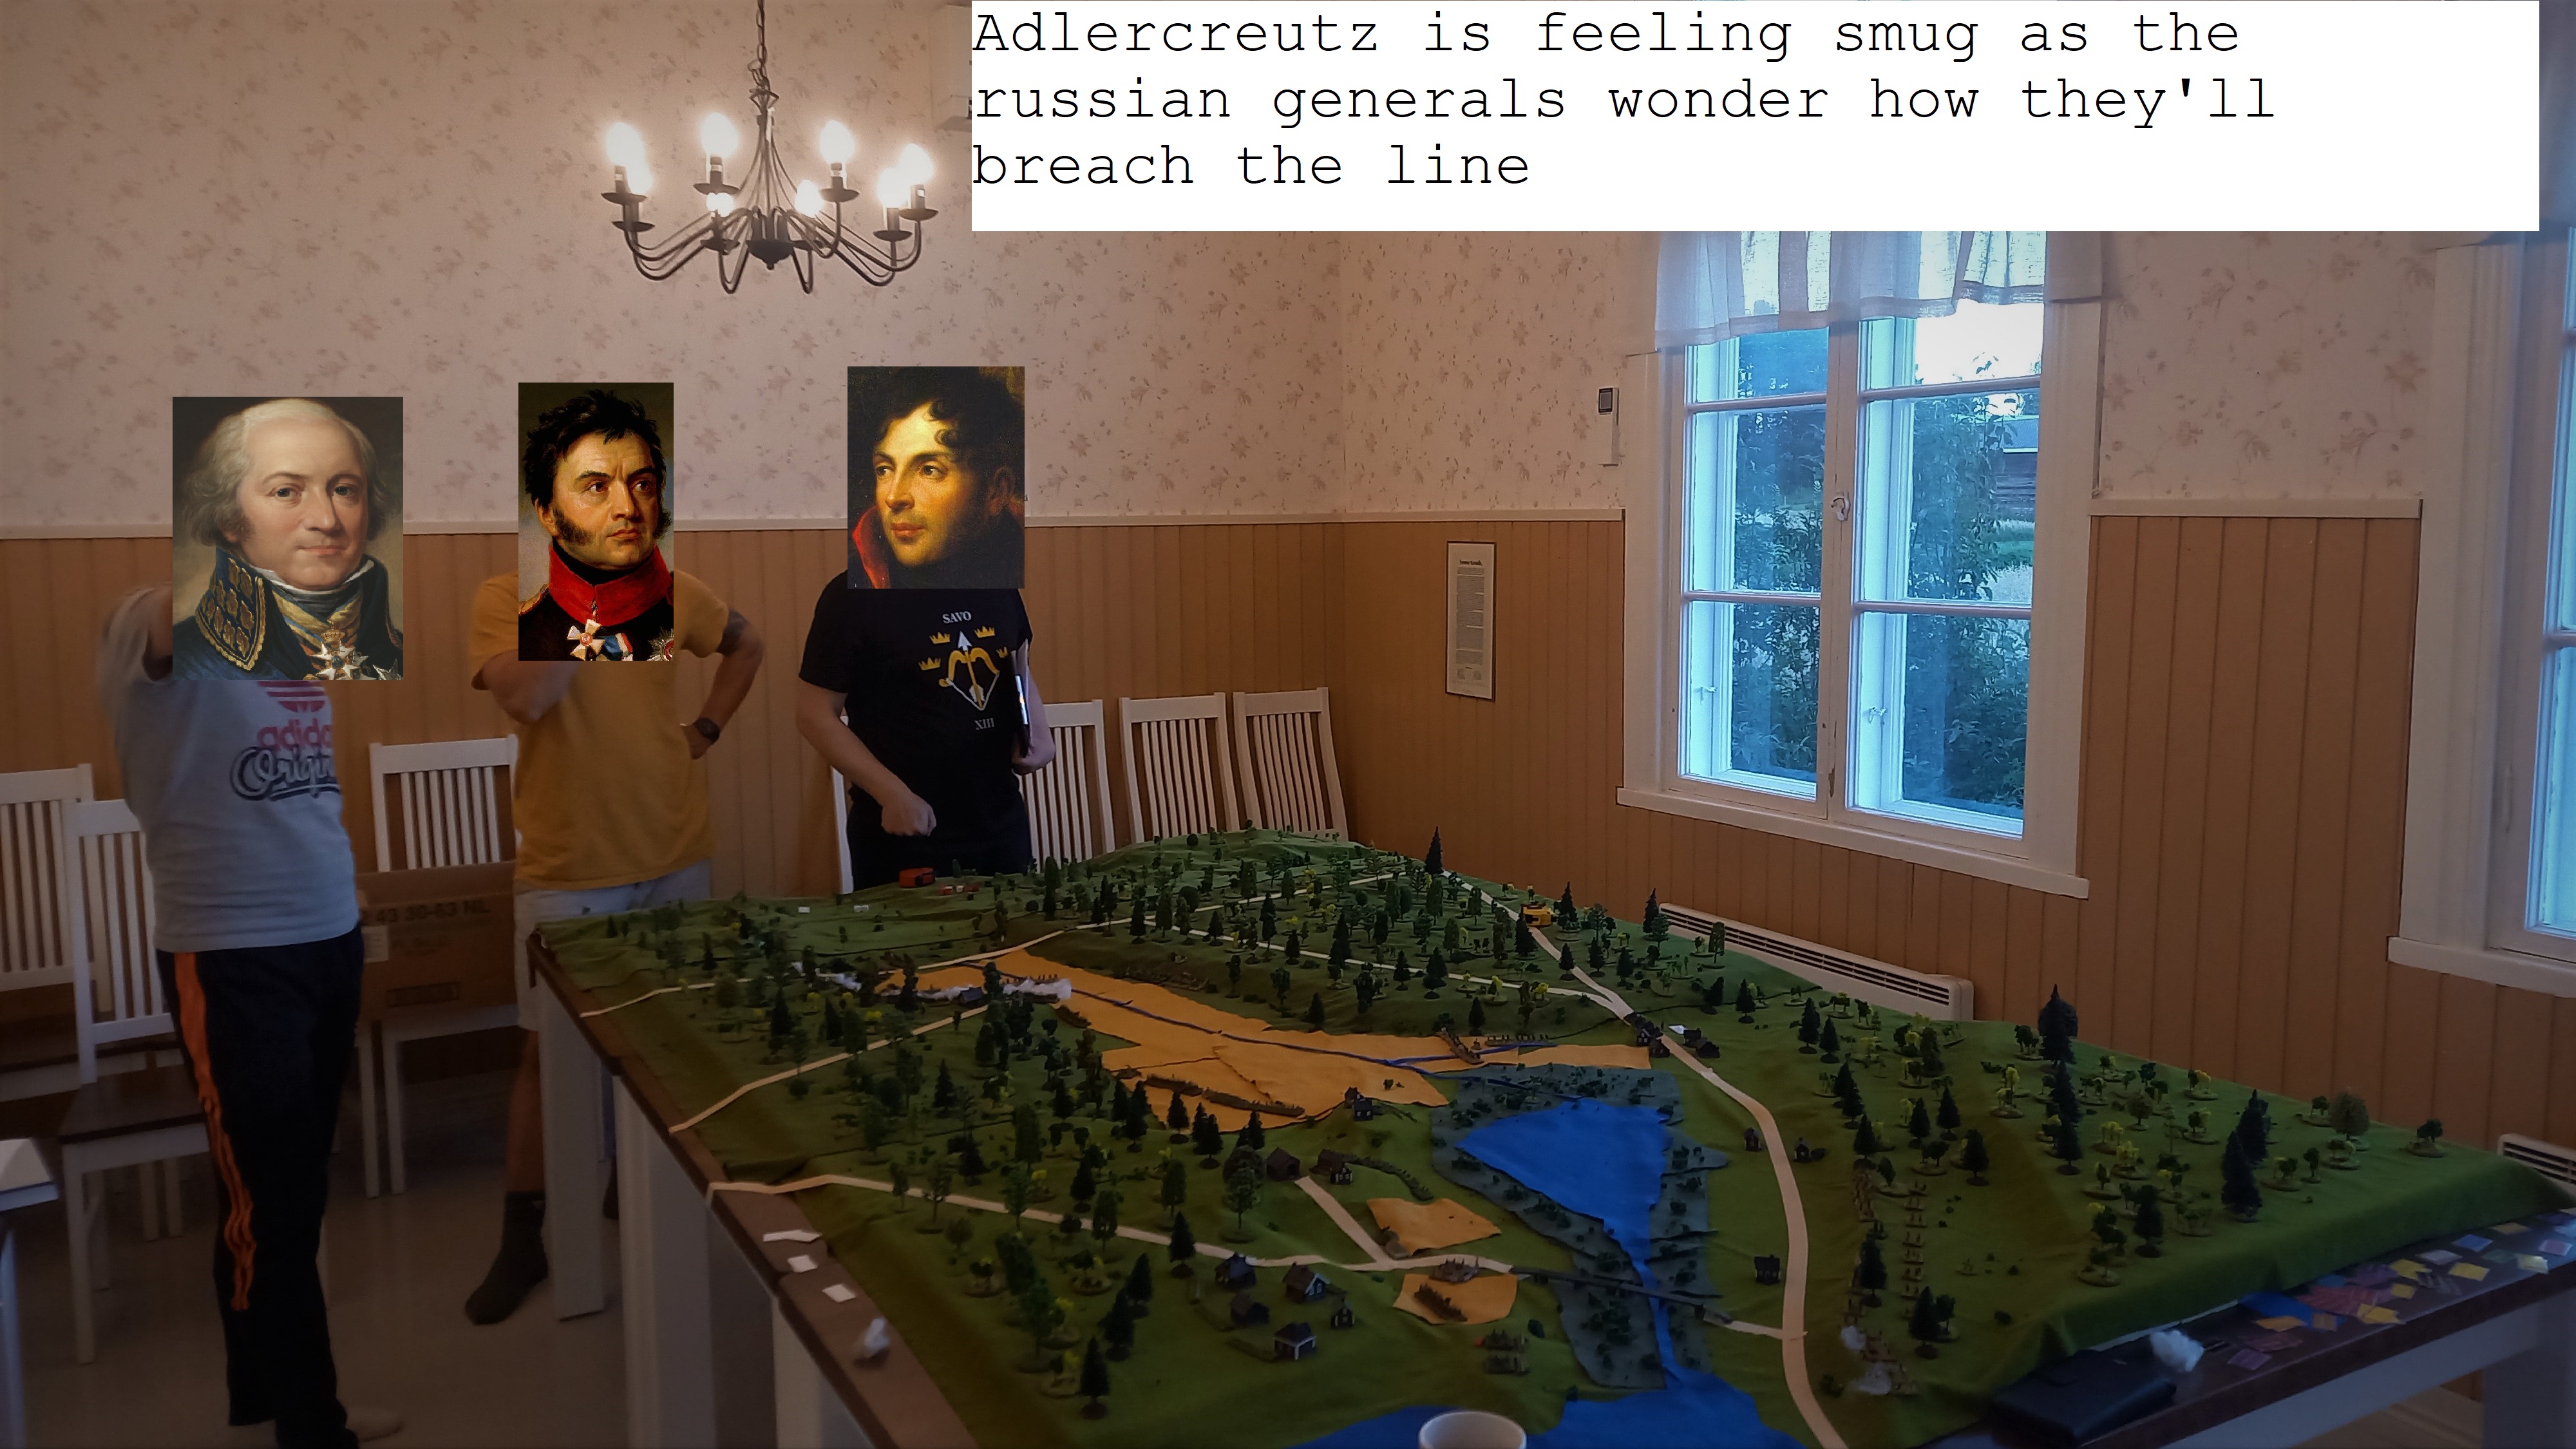


In our games, we estimate that about a third of the losses in the miniature game represent actual dead and wounded men. In this game, the Russians lost 486 men, with Yankovich wounded. The Swedish army lost 136 men, four guns were destroyed and Cedergren wounded. With these numbers, the day had been less bloody than historically, but the end result would be the same. The Swedish position on the extended line would be untenable so they'd have to retreat to Salmi as they did historically. The Russians would no doubt remain on the field as they would be under no illusion of a Swedish counterattack.

All in all, the day was a great success and the battlefield visit enriched the game greatly. Now our campaign will move on to the Autumn of 1808 and towards the melancholy end of the war.


Game details:

Figures by Heroics and Ros 6mm

Rules: General de Brigade by David Brown

Scenario combined from GemiGaBok and Sword and Saber publishing's Finnish war scenarios.

Friday, March 5, 2021

6mm German reinforcements

And here comes the German infantry. Now there's a nice core of infantry for both armies and I think I can pull off more scenarios.

 The grand total for both armies starts to look pretty nice!


Friday, February 12, 2021

6mm Soviet WW2 reinforcements

More infantry into the fray! Once I complete a similar set to the Germans too, I should have enough for a decent Microarmor engagement. Infantry figures are Heroics and Ros based on 30mm squares.


All my soviets at the moment


Wednesday, January 20, 2021

ACW Isolation Kriegspiel: Battle of Kernstown 1862

Time for another remote Kriegspiel, this time using Black Powder rules and on a lower level of command. Instead of the whole army the players commanded on the Volley & Bayonet Second Manassas game, they had a division each. The scenario I picked was the Battle of Kernstown scenario in the Black Powder second edition rulebook. Unlike last time, I'll keep the commentary brief this time, only offering a rough outline of the events. 

For background on the scenario, I suggest you read the wikipedia article on the First battle of Kernstown, but in a nutshell it was a division versus division affair where Thomas Jackson attacked a Union force which was much larger than he anticipated and got beaten back in a rare loss for him.

I drafted briefing documents for the players along with a historical map of the area. The players drafted their plans and away we went. I would update them on the situation every turn or two and send them updated maps with incomplete intelligence. 

Union briefing (PDF) 

Confederate briefing (PDF)


Briefing map given to the Confederate commander

Map given to the Union commander


Union troops taking position on the hill north of Kernstown
 

The Union commander set his forces up in a line centered on a hill north of Kernstown with one brigade in reserve. The Confederates started their day by scouting the Union positions with their cavalry, being generally successful in gaining intel, but not enough to realize their initial estimate of enemy strength was underestimated.

Confederate guns line up west of Kernstown

Infantry lines up for attack

The Confederates decided to push the Union center aggressively and take the hill. They massed their artillery in the center and sent their cavalry on the right to see if they can turn the enemy flank.


Confederate map after initial deployment. Due to blunders on scouting rolls on the right flank, the dismounted union cavalry brigade is seen as infantry pickets.


A Union cavalry brigade is mistaken for infantry pickets


The attack on the hill begins

The attack on the hill succeeds but only barely. The Confederates are pretty beat up, but manage to avoid breaking. The Union brigade holding the hill breaks and the Union commander has to relocate his HQ.

After an aggressive charge by the Stonewall brigade, the Union center breaks.


Union map after the Confederates take the hill.

The Union commander calls for reinforcements, but during this time his second brigade also breaks in the firefight. The Confederates have managed to take on two brigades in turn with a smaller force and concentrate fire well. Union cavalry moves to counter the Confederate cavalry flanking manoeuver, but neither cavalry commander commits to attack the other.

Union reinforcements arrive but decide to stay on defense rather than counterattack.


The confederates keep the hill, but are in no condition to fight.

In the end, both armies order their troops to defend and as the scenario clock is around 5 PM, I call the game. The Confederate division broke two Union brigades without having any of theirs break taking ground in the process so they win the day.

The Confederate success owed a lot to the Union commander being uncertain whether there were still forces forthcoming and thus didn't converge on the Confederate main attack. Also, he didn't know the attackers were close to the breaking point and so didn't opt to retake the hill. This is again a feature of a limited intelligence game. In a normal miniature game, the players would be a lot more decisive in their actions and immediately spot good opportunities.

In hindsight Black Powder wasn't the best set of rules for a game like this. The action progresses fast in Black Powder and I think kriegspiel is best played on a higher level of command. On the plus side, this was much easier to set up and run than the Manassas game.